
Using View Modifiers to Display Empty State
Replicating Apple's Reminders app
Empty state is an important aspect of UX - it’s what users see when they first open your app, and as the saying goes, there is no second chance to leave a first impression - so it better be good. Showing users a meaningful empty state will make them feel welcome and is a great opportunity for you to educate them about how to get started with the app.
So far, Make It So doesn’t display a meaningful empty state, and in this article, we will look at a couple of options to implement this.
What we’re going to build
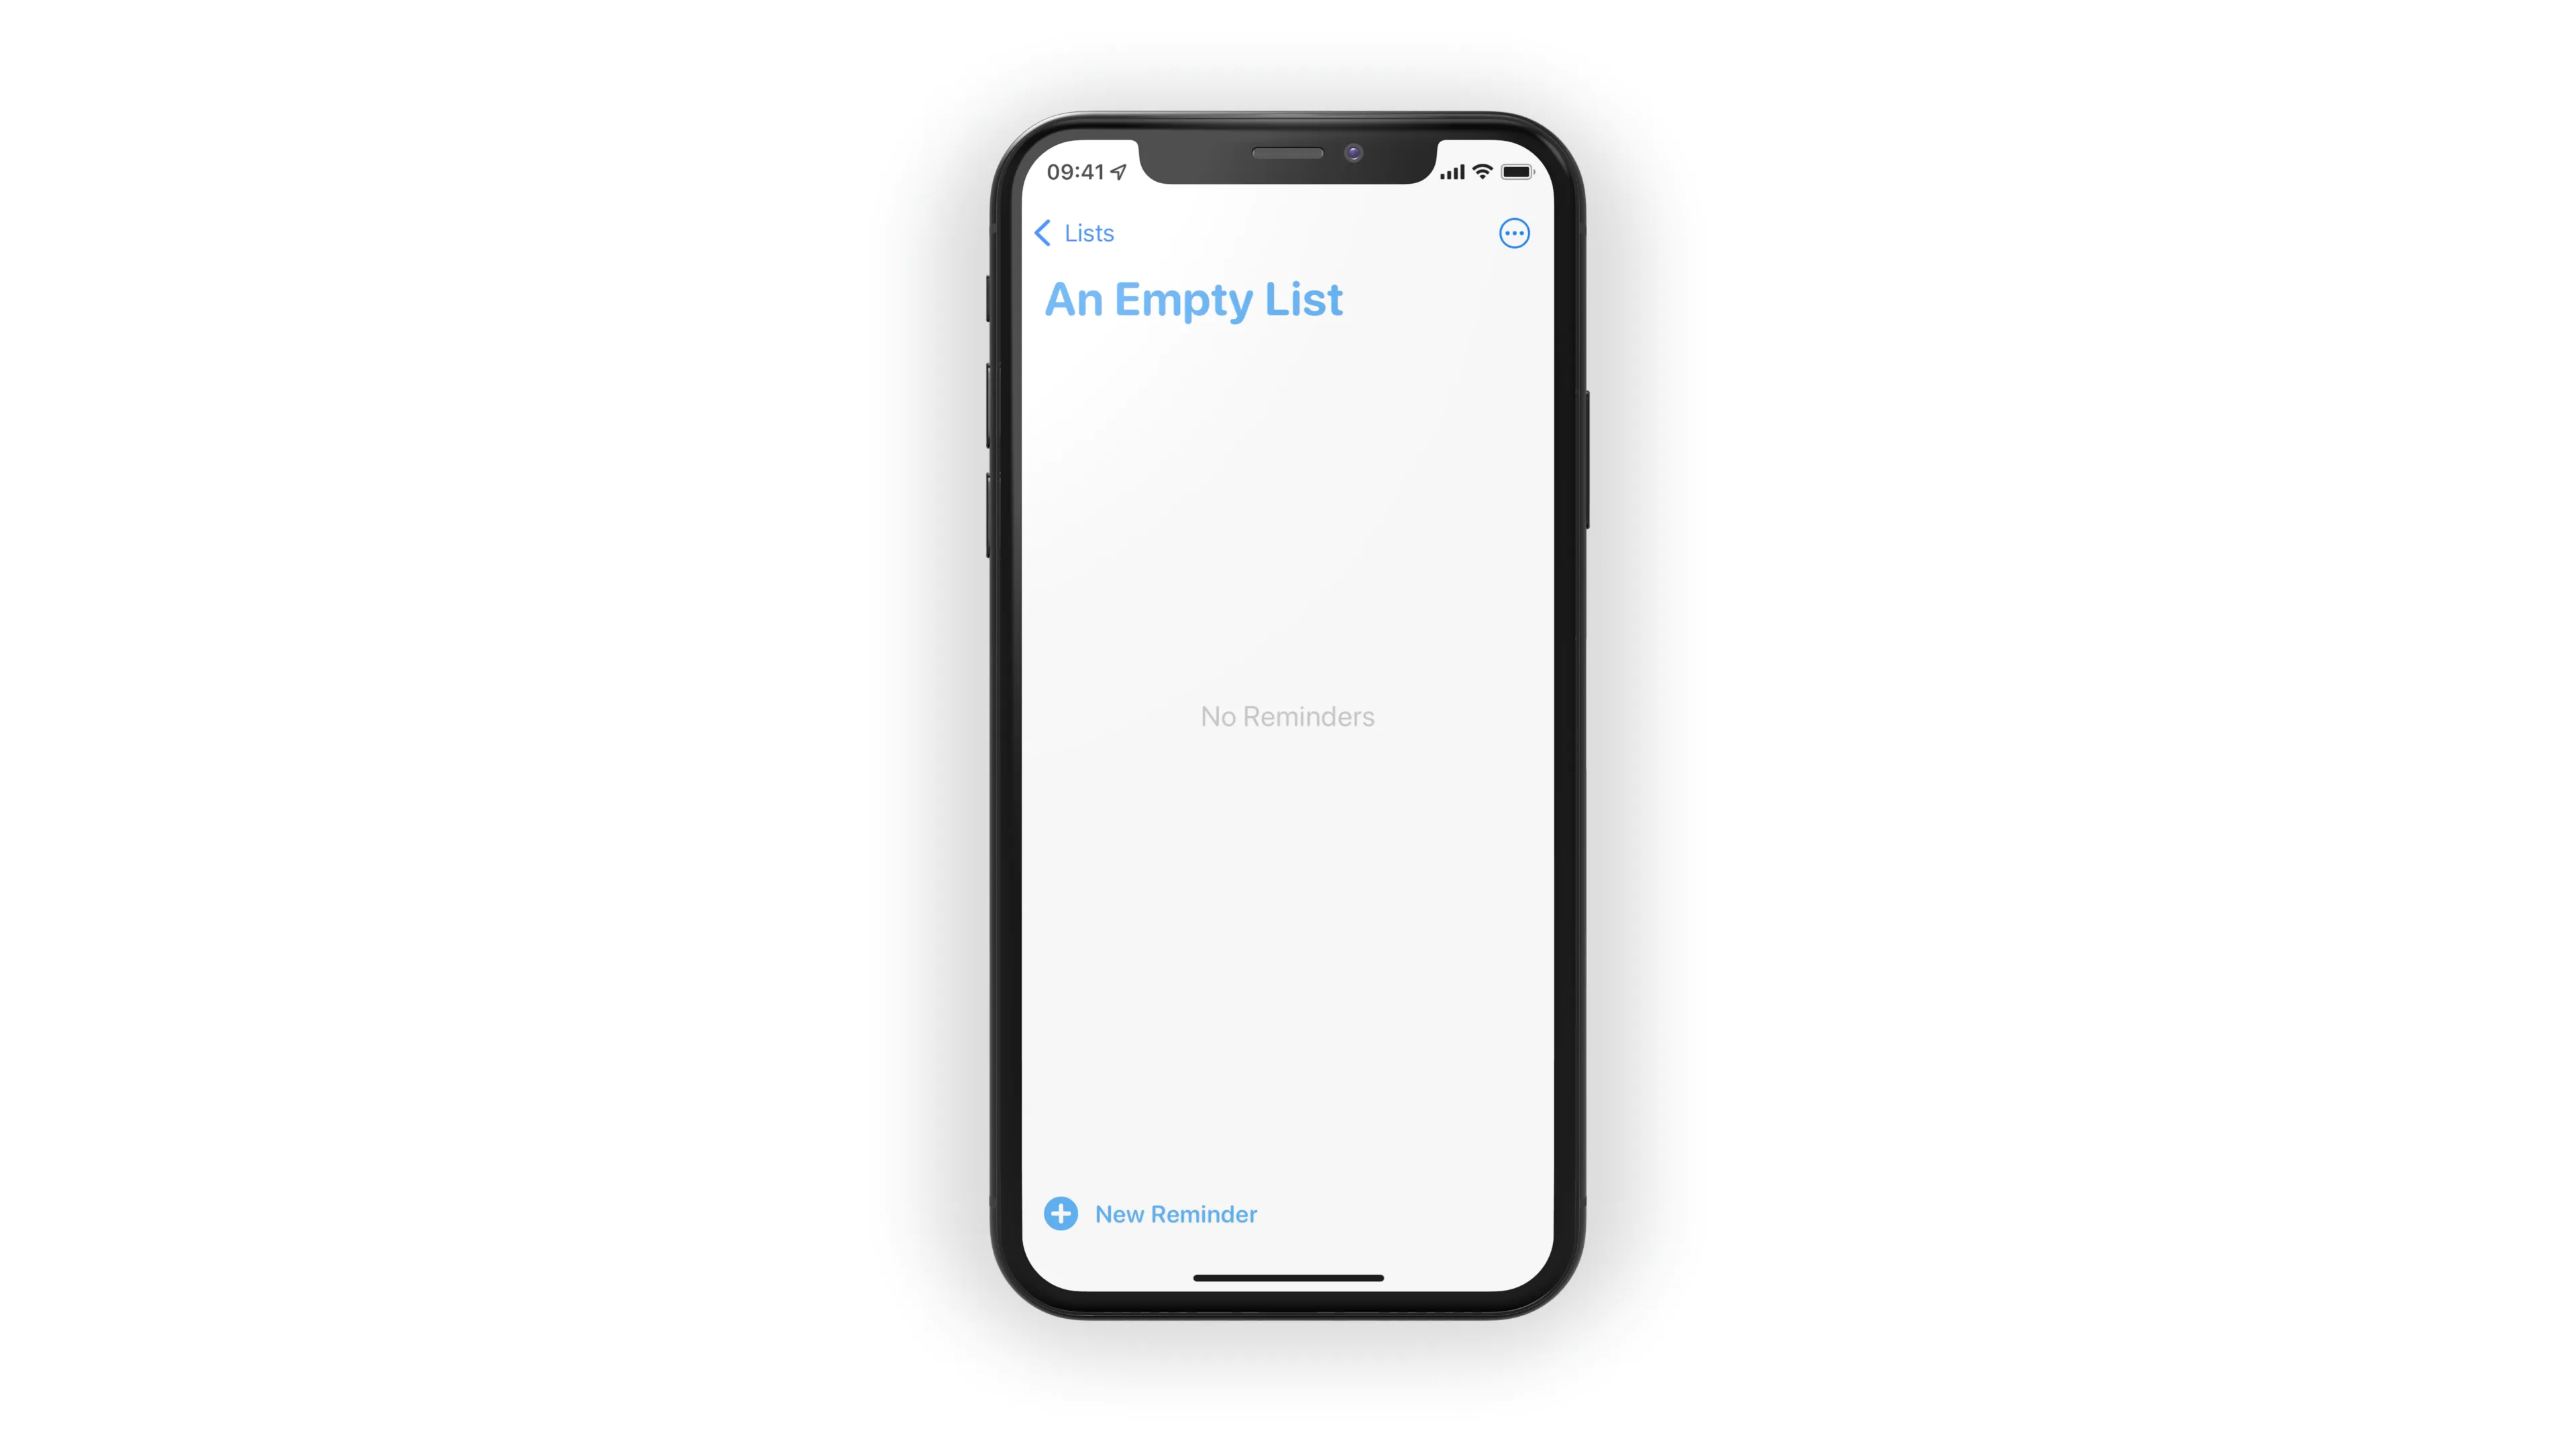
To get started, let’s take a look at Apple’s Reminder app (since this is the app that we’re trying to replicate):
A simple way to implement empty state is to use Xcode’s Make Conditional refactoring (CMD + Click on a view, then choose Make Conditional). This will wrap the view in an if ... else statement and wrap the entire structure in a VStack:
struct ContentView: View {
  @State var isEmpty = true
  var body: some View {
    VStack {
      if isEmpty {
        Text("Hello, World!")
      } else {
        EmptyView()
      }
    }
  }
}
Not too bad, but this adds visual noise to the code for our view - let’s see if we can improve this.
Using a ViewModifier to Manage Empty State
View Modifiers are one of the main features of SwiftUI that make writing SwiftUI code an enjoyable experience. Without view modifiers, the only way to configure views would be their initialisers, resulting in a pretty terrible developer experience.
Thanks to view modifiers, we can configure views like this:
Text("Hello, World!")
  .foregroundColor(.red)
  .font(.title)
  .opacity(75)
instead of this (hypothetical code):
Text("Hello, World!", foregroundColor: .red, font: .title, opacity: 0.75)At the call site, a view modifier for adding empty state to a view might look like this:
Text("Hello, World!")
  .emptyState($isEmpty) {
    Text("Sorry - no content available")
  }
Let’s take a look at how to build this. View modifiers usually consist of two parts: the view modifier itself, and an extension to make it easier to use.
Let’s start with the view modifier:
struct EmptyStateViewModifier<EmptyContent>: ViewModifier where EmptyContent: View {
  var isEmpty: Bool
  let emptyContent: () -> EmptyContent

  func body(content: Content) -> some View {
    if isEmpty {
      emptyContent()
    }
    else {
      content
    }
  }
}
All view modifiers can access the view they operate on via the content: Content parameter of the body function. In addition, we’ve declared two properties:
isEmptylets the caller indicate whether or not to display the empty stateemptyContentis a closure that returns the view we want to display in caseisEmptyistrue
Depending on the state of the isEmpty property, we will either display the emptyContent, or the original view, which we can access via the content parameter.
To use this modifier on a view, we’d have to write the following:
Text("Hello, World!")
  .modifier(EmptyStateViewModifier(isEmpty: isEmpty, emptyContent: {
    Text("Sorry - no content available")
  }))
Which doesn’t look very user friendly.
Adding an Extension to Improve the Developer Experience
Let’s define an extension on View to make this easier to use:
extension View {
func emptyState<EmptyContent>(_ isEmpty: Bool,
emptyContent: @escaping () -> EmptyContent) -> some View where EmptyContent: View {
modifier(EmptyStateViewModifier(isEmpty: isEmpty, emptyContent: emptyContent))
}
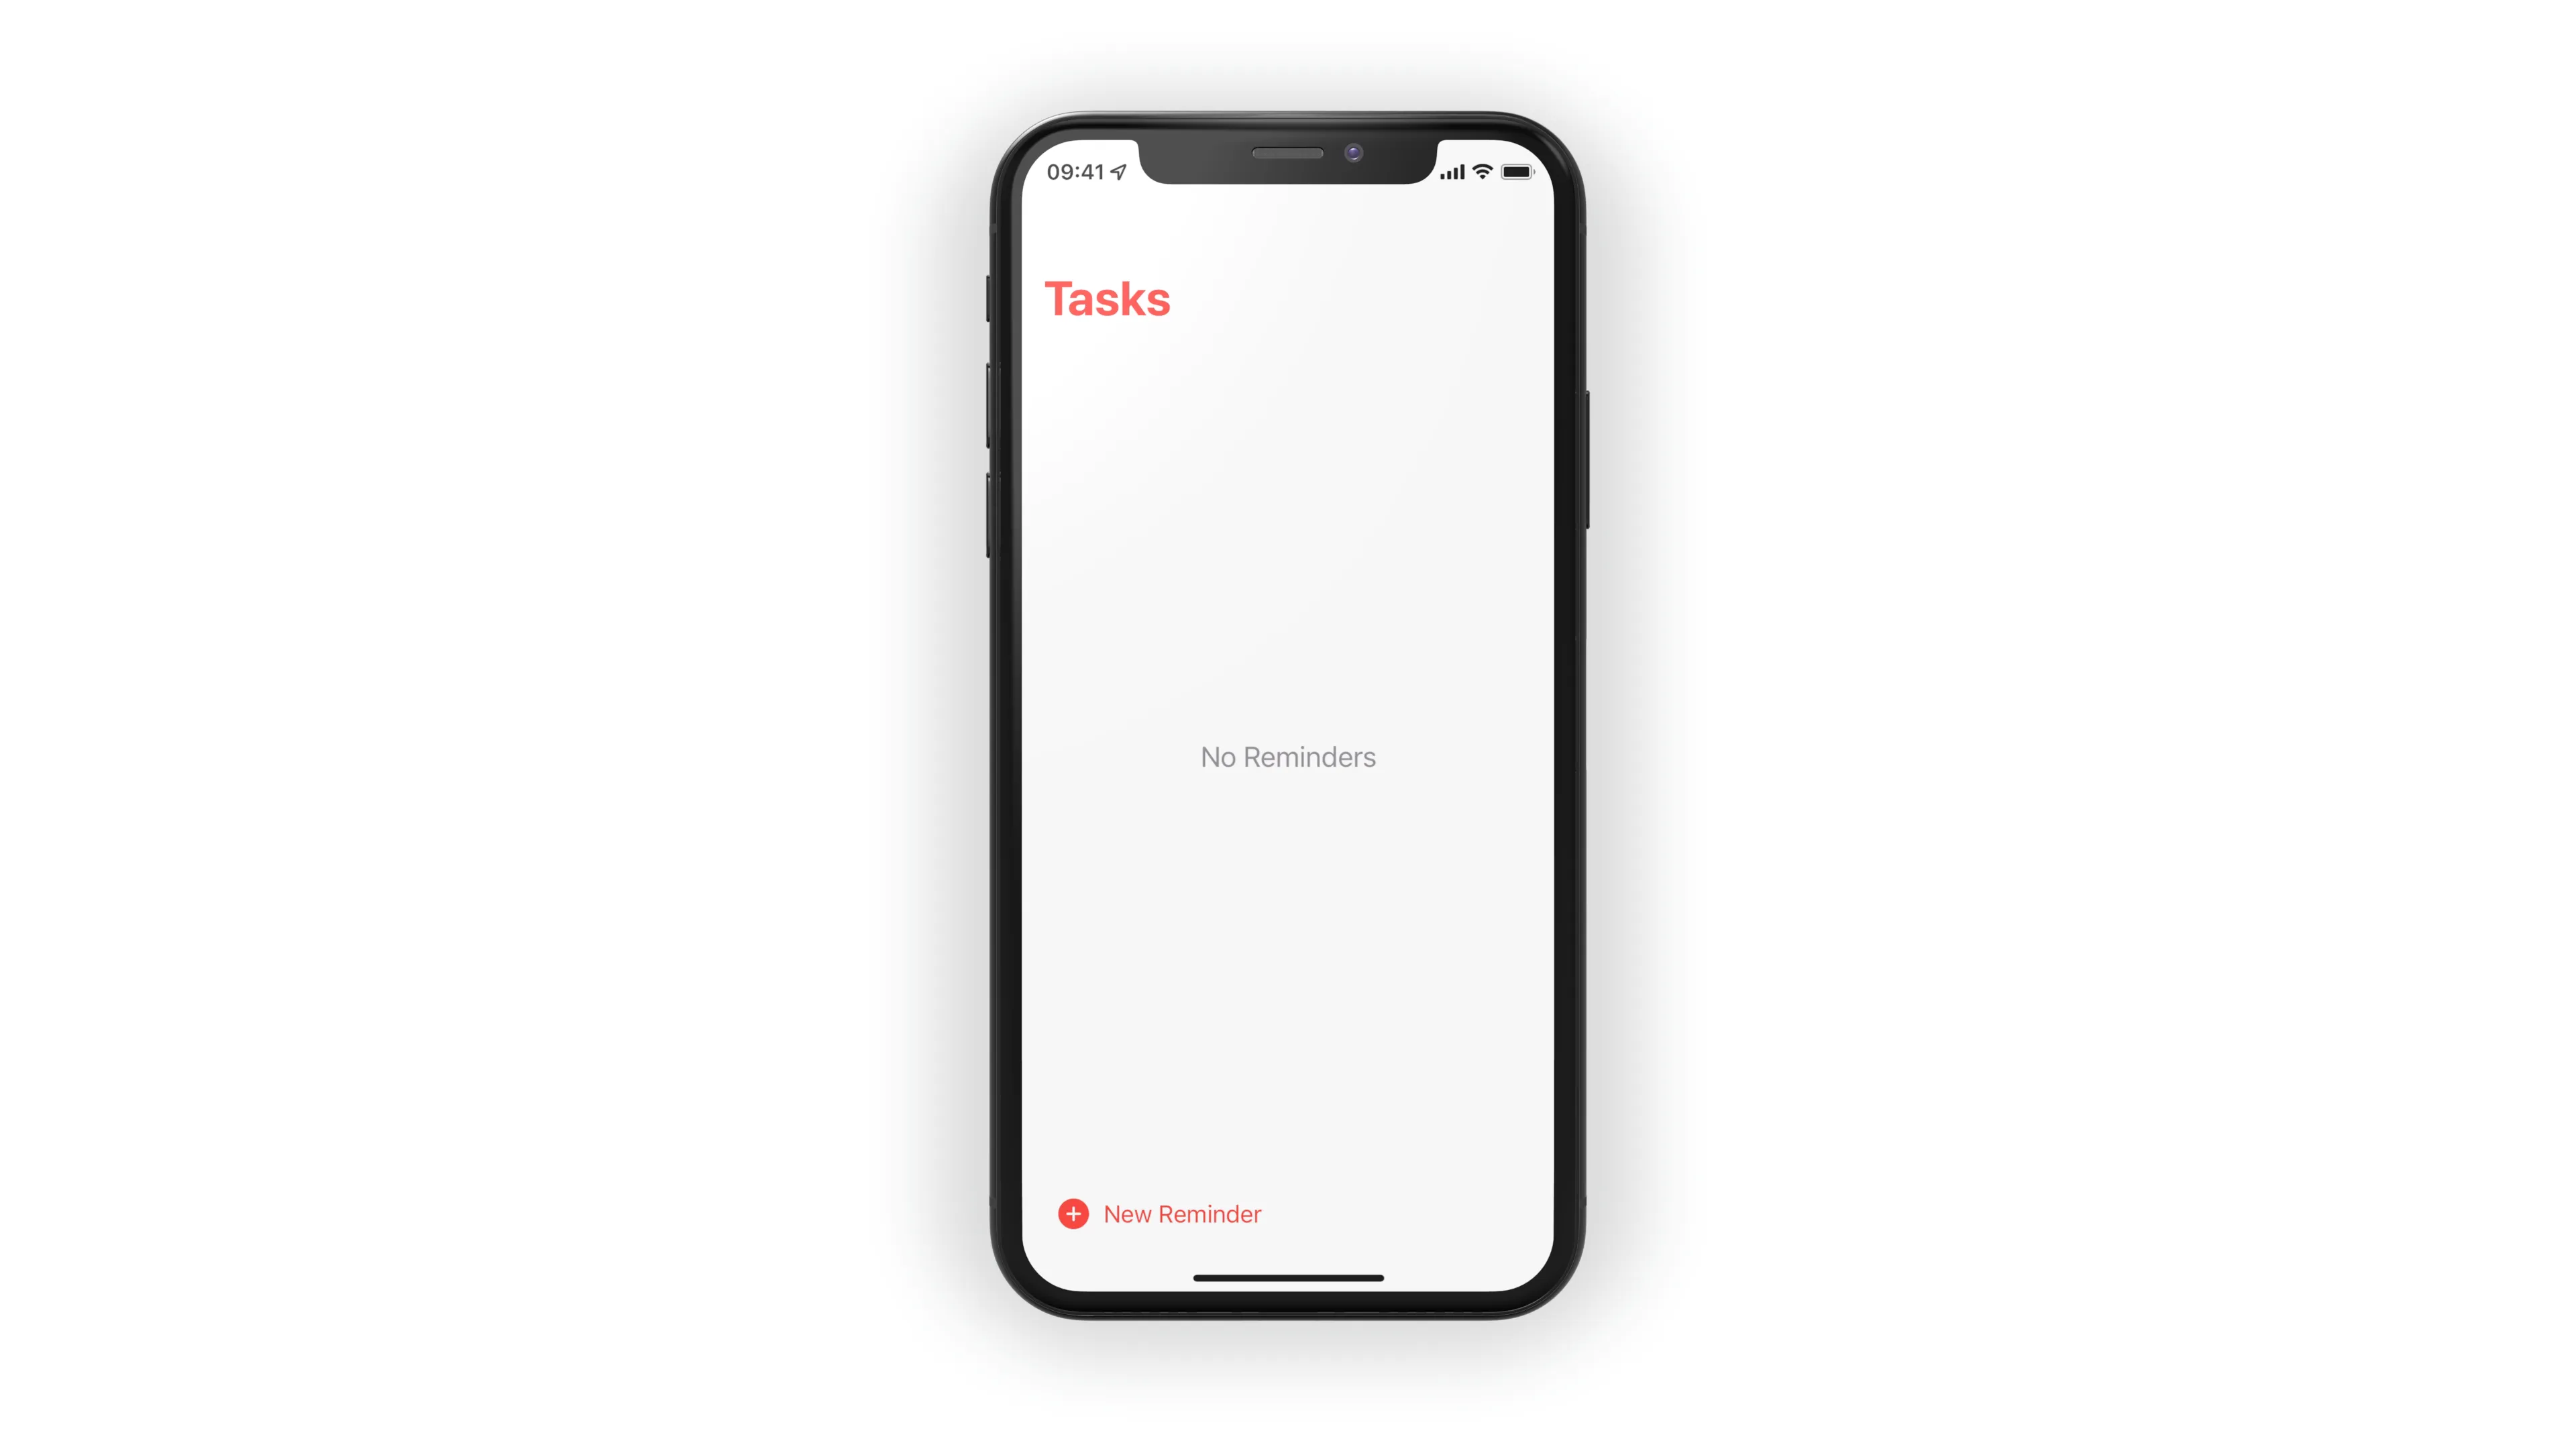
}And now we can use the view modifier as expected. Here is the main list view of Make It So, with the view modifier applied:
List {
  ForEach($viewModel.tasks) { $task in
    TaskListRowView(task: $task)
      .focused($focusedTask, equals: .row(id: task.id))
      .onSubmit {
        viewModel.createNewTask()
      }
      .swipeActions {
        Button(role: .destructive, action: { viewModel.deleteTask(task) }) {
          Label("Delete", systemImage: "trash")
        }
        Button(action: { viewModel.flagTask(task) }) {
          Label("Flag", systemImage: "flag")
        }
        .tint(Color(UIColor.systemOrange))
        Button(action: {}) {
          Label("Details", systemImage: "ellipsis")
        }
        .tint(Color(UIColor.systemGray))
      }
  }
}
.emptyState($viewModel.tasks.isEmpty) {
  Text("No Reminders")
    .font(.title3)
    .foregroundColor(Color.secondary)
}
You can find the source code for Make It So, including the view modifier, in the develop branch of this GitHub repo.
If you’re interested in following along with the further development of the app, subscribe to my newsletter, follow this Twitter thread - and feel free to join the conversation!
Thanks for reading! 🔥
Agentic Coding in Xcode with Gemini CLI
Build apps with AI assistance in Xcode using Gemini CLI

Turn Your Photos Into Miniature Magic with Nano Banana
Build stunning image generation apps in iOS with just a few lines of Swift

Reverse-Engineering Xcode's Coding Intelligence prompt
A look under the hood
Extracting structured data from PDFs using Gemini 2.0 and Genkit
Understanding SwiftUI Preferences
SwiftUI Parent / Child View Communication