Understanding SwiftUI Preferences
SwiftUI Parent / Child View Communication
When building SwiftUI views, you often need to establish communication between parent and child views.
Most commonly, you will use @State on the parent view and @Binding on the child view to establish a two-way binding. This results in a tight coupling between the two views. In most cases, this isn’t an issue, but it can lead to undesired consequences if you don’t pay attention. For example, if you need to pass state from a parent view to a view that is nested deep down in the view hierarchy, you might (accidentally) end up handing this state down through each view in the hierarchy, an anti-pattern known as prop drilling. In SwiftUI, we can use the @Environment property wrapper to avoid prop drilling.
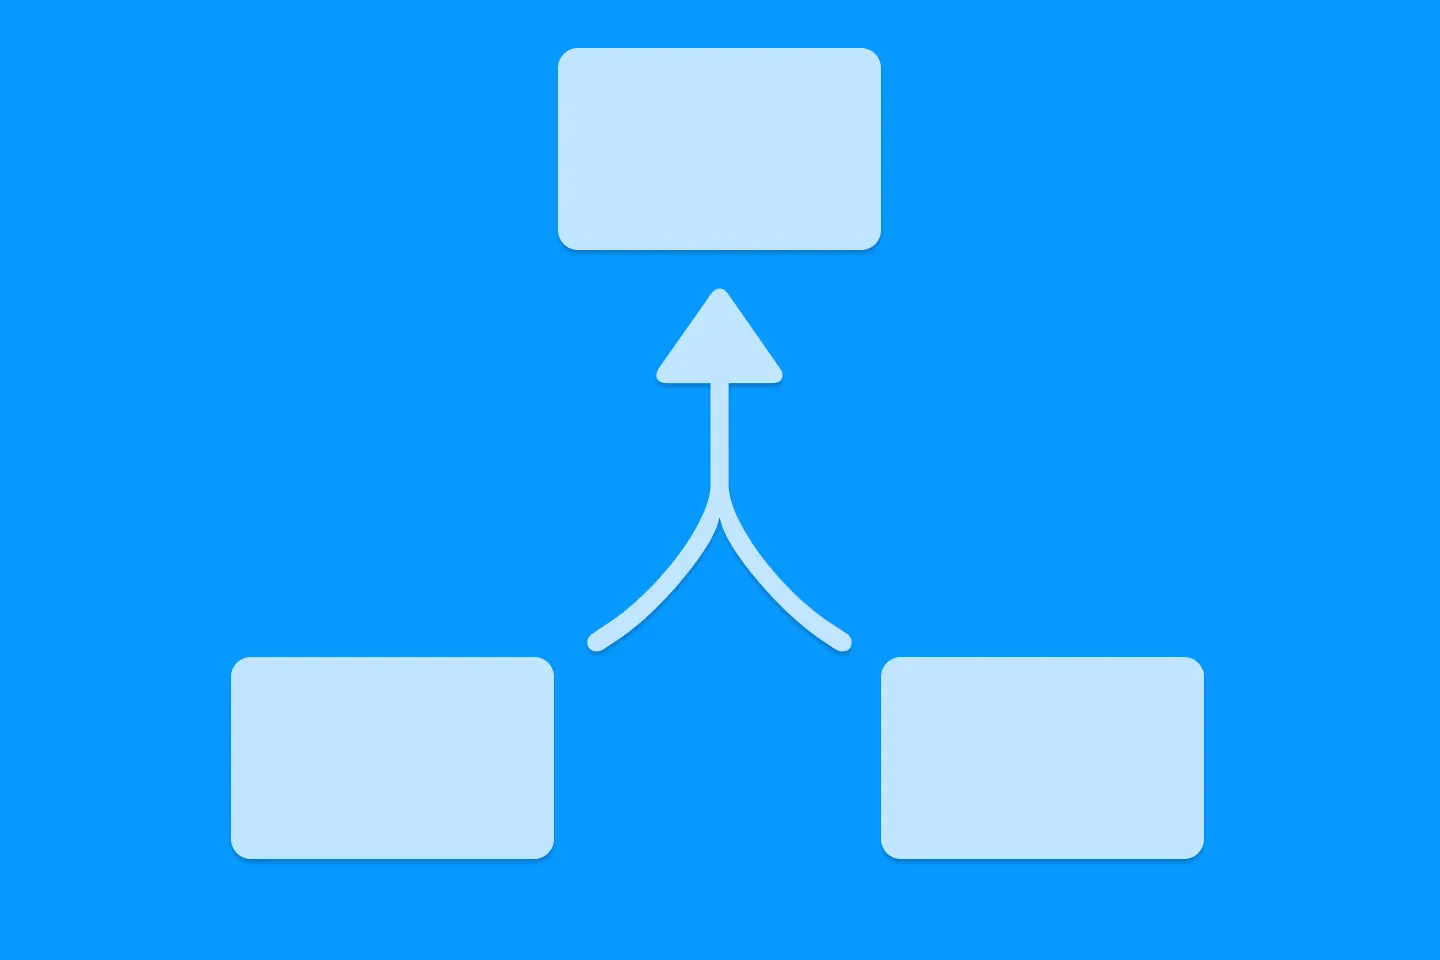
All of these approaches are meant for a parent / child communication in which the parent owns the data that is being passed down - but what if you need to communicate from a child view to a parent?
Enter Preferences.
What are Preferences in SwiftUI
You will be forgiven for thinking that SwiftUI’s Preferences are about user settings or configuration options. After all, that is the meaning of the term “preferences” in most software contexts! However, in SwiftUI, Preferences are a mechanism for passing data up the view hierarchy - essentially allowing child views to communicate information back to their parent views.
As the SwiftUI documentation says, “[w]hereas you use the environment to configure the subviews of a view, you use preferences to send configuration information from subviews toward their container.”
How are Preferences used in SwiftUI
A well-known example that I am pretty sure most of us have used before is the navigationTitle view modifer. Did you ever wonder that it’s curious you need to apply this view modifier on a child view of the navigation stack, instead of the NavigationStack itself?
Here is how it works: when setting the navigationTitle on a view, this view uses a PreferenceKey to communicate this value (i.e. its preferred navigation title) up to the nearest NavigationStack. If the view is a child of any other view that also sets the navigationTitle, the preference of the first view will be overruled by the preference of the higher up view.
NavigationStack {
  Text( "Hello, World!")
    .navigationTitle("Welcome!")
}
A lesser known example is the preferredColorScheme view modifier - as the name suggests, it lets you specify a view’s preferred color scheme. So even if the device is in dark mode, you can make sure a specific view is rendered in light mode.
Two aspects about the preferredColorScheme view modifier are worth noting: the underlying preference key is public, so you can either write .preferredColorScheme(.dark), or .preference(key: PreferredColorSchemeKey.self, value: .dark). Also, it supports hierarchical overrides, which means that the following UI will be rendered in light mode:
VStack {
  VStack {
    Text("Hello, World!?")
      .preferredColorScheme(.dark)
  }
}
.preferredColorScheme(.light)
Using Preferences to build custom views
To understand how you can use SwiftUI’s preferences in your own views, I’m going to walk you through the implementation of a form validation I implemented for a login form. I’ve simplified the code a bit for this blog post.
The basic idea for the implementation is to perform a field-based validation (e.g., the user name must have more than 3 characters, and the password must have more than 8 characters). Any form-level errors will be shown in a red error label beneath the input field. In addition, we want to be able to display the total number of validation errors on the containing form.
Here is an implementation for a text input field that supports both plain text and secure input:
struct ValidatedField: View {
  let title: String
  @Binding var text: String
  let validationRules: [ValidationRule]
  var isSecure: Bool = false

  private var validationMessage: String? {
    for rule in validationRules {
      if let message = rule.validate(text) {
        return message
      }
    }
    return nil
  }

  var body: some View {
    VStack(alignment: .leading, spacing: 4) {
      if isSecure {
        SecureField(title, text: $text)
          .textFieldStyle(.roundedBorder)
      }
      else {
        TextField(title, text: $text)
          .textFieldStyle(.roundedBorder)
      }

      if let message = validationMessage {
        Text(message)
          .foregroundColor(.red)
          .font(.caption)
      }
    }
  }
}
This implementation allows for a composable implementation of validation rules, which are defined as a protocol. Here is the protocol, and a validation rule for minimum input length:
protocol ValidationRule {
  func validate(_ value: String) -> String?
}

struct MinLengthRule: ValidationRule {
  let length: Int

  func validate(_ value: String) -> String? {
    if value.count < length && !value.isEmpty {
      return "Must be at least \(length) characters"
    }
    return nil
  }
}
A login form that uses this custom SwiftUI view might look as follows:
struct SignupForm: View {
  @State private var username = ""
  @State private var password = ""
  @State private var validationMessages: [String] = []

  private var formStatusMessage: AttributedString? {
    let errorCount = validationMessages.count
    guard errorCount > 0 else { return nil }

    return AttributedString(
      localized: "^[There is](agreeWithArgument: \(errorCount)) ^[\(errorCount) error](inflect: true)"
    )
  }

  var body: some View {
    VStack(spacing: 20) {
      if let status = formStatusMessage {
        Text(status)
          .foregroundColor(.red)
      }

      ValidatedField(
        title: "Username",
        text: $username,
        validationRules: [MinLengthRule(length: 3)]
      )

      ValidatedField(
        title: "Password",
        text: $password,
        validationRules: [
          MinLengthRule(length: 8),
          PasswordComplexityRule()
        ],
        isSecure: true
      )
    }
  }
}
As you can see, I’ve added an error label for displaying the number of validation errors. In order to populate this label, the SignUpForm needs to know about all the validation errors that occurred in the child views.
One way to implement this would be to pass the validationMessages state property down to all the child views (either via the environment, or as a binding), but that would result in tight coupling.
Instead, let’s use SwiftUI’s preferences.
First, we need to define a custom preference key:
struct ValidationMessageKey: PreferenceKey {
  static var defaultValue: [String] = []

  static func reduce(
    value: inout [String],
    nextValue: () -> [String])
  {
    value.append(contentsOf: nextValue())
  }
}
In ValidatedField, we can now pass the local validationMessage up the view hierarchy using the preference(key:value:) view modifier:
struct ValidatedField: View {
  // ...
  private var validationMessage: String? {
    for rule in validationRules {
      if let message = rule.validate(text) {
        return message
      }
    }
    return nil
  }

  var body: some View {
    VStack(alignment: .leading, spacing: 4) {
      // ...
    }
    .preference(
      key: ValidationMessageKey.self,
      value: validationMessage.map { [$0] } ?? []
    )
  }
}
In the SignupForm, we can capture the final value of the ValidationMessageKey:
struct SignupForm: View {
  // ...
  @State private var validationMessages: [String] = []

  private var formStatusMessage: AttributedString? {
    let errorCount = validationMessages.count
    guard errorCount > 0 else { return nil }

    return AttributedString(
      localized: "^[There is](agreeWithArgument: \(errorCount)) ^[\(errorCount) error](inflect: true)"
    )
  }

  var body: some View {
    VStack(spacing: 20) {
      if let status = formStatusMessage {
        Text(status)
          .foregroundColor(.red)
      }

      ValidatedField( /* ... */ )
      ValidatedField( /* ... */ )
    }
    .onPreferenceChange(ValidationMessageKey.self) { messages in
      validationMessages = messages
    }
  }
}
We successfully avoided a tight coupling between the SignupForm and ValidatedField, allowing for a flexible and elegant way for child views to communicate with their parent views.
Swift 6 issues
If you try using this code in a project that has Swift 6 langugage mode enabled, you will get two compile errors.
First, the compiler complains about defaultValue being a var:
Static property ‘defaultValue’ is not concurrency-safe because it is nonisolated global shared mutable state.
This can be resolved by changing defaultValue to a let constant, as suggested by the quick fix - after all, the default value will never change!
struct ValidationMessageKey: PreferenceKey {
  static let defaultValue: [String] = []

  static func reduce(
    value: inout [String],
    nextValue: () -> [String])
  {
    value.append(contentsOf: nextValue())
  }
}
The second compile error occurs on the perform closure of onPreferenceChange:
Main actor-isolated property ‘validationMessages’ can not be mutated from a Sendable closure
There are two ways to deal with this partcicular instance of this well-known friend of ours.
The typical way to solve this is to execute the body of the closure on the main actor, for example like this:
.onPreferenceChange(ValidationMessageKey.self) { messages in
  Task { @MainActor in
    validationMessages = messages
  }
}
However, there is another way: instead of potentially hopping to the main actor,
we can use the fact that SwiftUI bindings are sendable, and pull in the validationMessages
binding via the closure’s capture list, and then assigning the messages value to the
wrapped value of the binding:
.onPreferenceChange(ValidationMessageKey.self)
{ [binding = $validationMessages] messages in
  binding.wrappedValue = messages
}
Which one of these you use is mostly a matter of preference (no pun intended), they’re both Swift 6 compatible.
A tale of two closures
Now, maybe you’re wondering just like me “why did I get this compiler error in the first place”? After all, the action closure on a Button doesn’t seem to have this issue!
The following code works perfectly fine iin Swift 6 language mode:
struct ButtonClosure: View {
  @State private var counter = 0

  var body: some View {
    Text("\(counter) times")

    Button("Tap me") {
      counter += 1 // <-- no compiler error
    }
  }
}
The reason is that button closures - as many other UI-related closures are executed on the main actor in SwiftUI, which we can see by looking at the initialiser’s signature:
@available(iOS 13.0, macOS 10.15, tvOS 13.0, watchOS 6.0, *)
extension Button where Label == Text {
  @preconcurrency nonisolated public init(
    _ titleKey: LocalizedStringKey,
    action: @escaping @MainActor () -> Void)
}
We can assume that Apple decided to implement UI-related closures this way to make common UI interactions both safe and intuitive.
The action closure on onPreferenceChange, on the other hand, is not marked as @MainActor, and thus will not necessarily execute on the main actor:
@available(iOS 13.0, macOS 10.15, tvOS 13.0, watchOS 6.0, *)
extension View {
  @preconcurrency @inlinable nonisolated public func
    onPreferenceChange<K>(
      _ key: K.Type = K.self,
      perform action: @escaping @Sendable (K.Value) -> Void)
      -> some View where K : PreferenceKey, K.Value : Equatable
}
We can only speculate why Apple implemented it this way, and I’d be curious to hear your thoughts about it.
The fact that this method signature is marked with @preconcurrency indicates that Apple didn’t somehow forget to review this part of SwiftUI when they made SwifUI ready for Swift 6. This comment also seems to indicate that this is “working as intended”.
Conclusion
In most cases when building SwiftUI views, you will pass data from parent views to child views. However, sometimes, it’s required to pass data about the inner state up to a parent view. SwiftUI preferences provide a way to achieve this without tight coupling. It’s good to know they exist as a tool when you need a child / parent communication without requiring to pass a binding from a parent view.

Agentic Coding in Xcode with Gemini CLI
Build apps with AI assistance in Xcode using Gemini CLI

Turn Your Photos Into Miniature Magic with Nano Banana
Build stunning image generation apps in iOS with just a few lines of Swift

Reverse-Engineering Xcode's Coding Intelligence prompt
A look under the hood
Extracting structured data from PDFs using Gemini 2.0 and Genkit